When it comes to using fabric I'm mainly a dressmaker, well actually a
waistcoat maker. However I love finding new uses for
fabrics and the skills I've picked up working in the world of textiles. I have done some furnishing projects, such as
lining curtains and
making cushions and even though I may have nothing in particular in mind I will grab some furnishing fabric if it's going in the sale. Often this thicker durable fabric will get turned into a stylish jacket like this one I wore to the Forbidden City in China. This said a good stock of fabric can really be handy if you suddenly find yourself with a problem to solve.

I have been trying to redecorate my sewing room without spending too much cash. A friend donated a pair of bookcases which were solid, however the backs of them were damaged. At first I thought I'd have to have them without the backs, which is highly annoying as I was planning on putting sewing bits and bobs on them, and could just imagine them getting lost or damaged as they fell behind the shelves. Another options would be having ugly mis-matched bookcases. The walls of my room looked very distinguished in their ox-blood red and I didn't want to spoil the over all Victorian abeyance they had given my room with tacky looking bookcases. It was then that I had an idea.

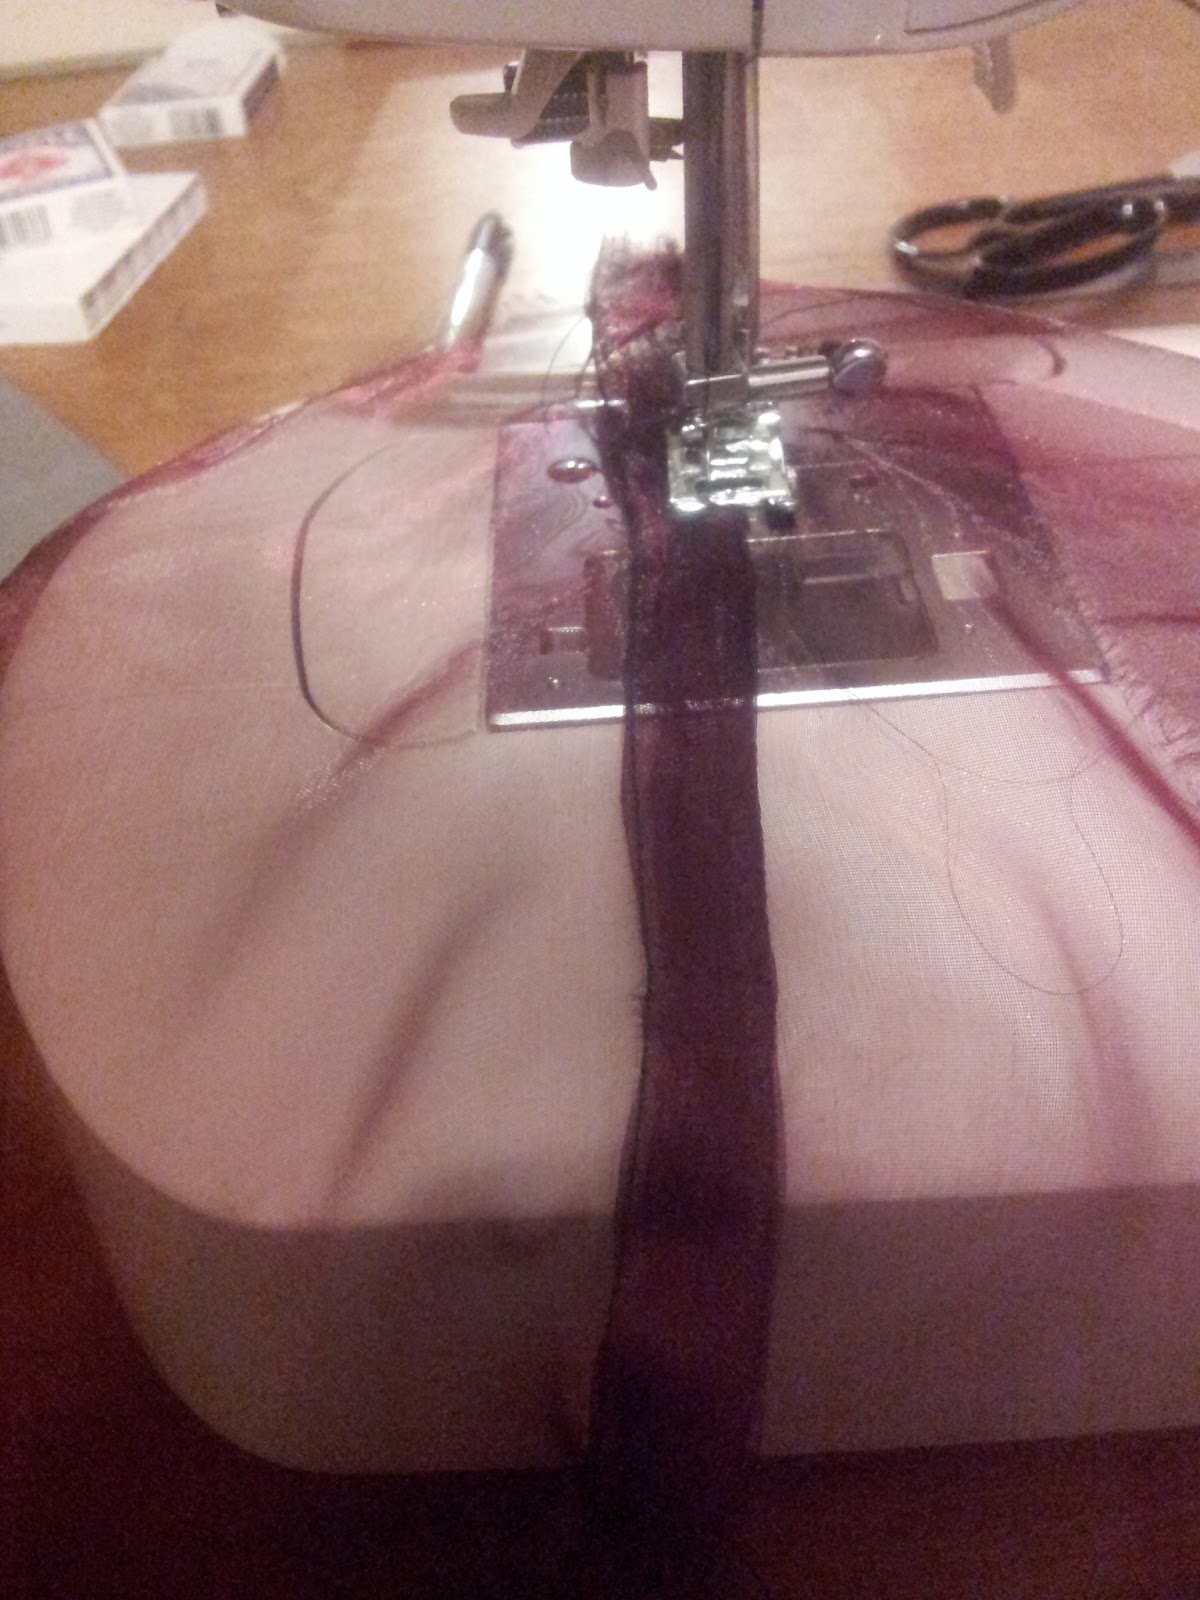
I patched up the bookcases as best as I could with Duct tape. Duct tape is like the Force from StarWars, it has a light side, a dark side and it holds the universe together. I then removed the panel from the book case and rummaged through my stock of furnishing fabric which I picked up in the sale last year. I then cut out a rectangle of fabric to fit the panel, leaving 1 cm around for seam allowance and then staple-gunned it to the panel.
All the was left to do was to use panel pins to reattach the back of the book case, and then add the shelves.
I then repeated this with the second book case (in this case I had to use some hardboard for the back as the original back was too damaged). I also cut out a corner of the book case so it would fit into my room's support post.
And so there we have it. Furnishing fabrics used for furnishing, just in a different way than most people use them. This fabric was bought in a sale at a very reduced price. I stored it away with my other fabrics sure that I'd find a use for it one day, and I was very glad I did so. We don't need to be constrained by what we THINK a fabric should be used for. You can use a fabric for a wall hanging, or to pad a shelf, line draws or the inside of a cupboard, in fact anywhere that you just want to add a touch of luxury.

 I have been trying to redecorate my sewing room without spending too much cash. A friend donated a pair of bookcases which were solid, however the backs of them were damaged. At first I thought I'd have to have them without the backs, which is highly annoying as I was planning on putting sewing bits and bobs on them, and could just imagine them getting lost or damaged as they fell behind the shelves. Another options would be having ugly mis-matched bookcases. The walls of my room looked very distinguished in their ox-blood red and I didn't want to spoil the over all Victorian abeyance they had given my room with tacky looking bookcases. It was then that I had an idea.