Sometimes gift wrapping is there to disguise what a gift is, but other times you just want things to look pretty. We have shown you how to make a pouch before, and these are great for gifts such as dice or other knick-knacks and make great gifts by themselves. Organza gift bags are a fantastic way to add sparkle to a gift such as wine, or for placing lots of smaller gift wrapped presents in.
I chose organza as to me it's very ethereal and magical. However it's iridescence causes one problem, you can see the seam allowance. So for this gift bag we will use French seams which look much neater than a visible rough seam. Another advantage of organza is that it is very easy to store your left over bits for projects just like this. Check out our guide on how to organize your fabrics.
Step One Cut out a rectangle of organza. Make the rectangle about 50% larger than your gift.
With WRONG sides together pin the rectangle together along the long and one short edge. Normally we sew right sides together but with a French seam we start with wrong sides together. Sew with a 1cm seam allowance on the long and one short edge.
Step Two Press the seam allowance to one side.
Turn the bag inside out and again press the seams so they are neat and straight.
Step Three
Sew along the seam allowance. Now if we turn the bag right side out we can see the seams are now totally enclosed. This is not only more attractive than rough seams being visible, it also makes the bag much more durable.
Step Four
All that remains is making the casing for the ribbon. To begin with hem the top of the bag (folding the rough edge in on itself, pressing and folding again).
Now fold the top of the bag down so the bag is at the right height.
Now mark where you want the ribbon casing to be.
The unfold the top and place a small button whole on each side of the bag, where the seam casing will be.
Step Five
Fold the bag's top inwards so the bag is the desired hight again. Now just run two parallel lines on either side of the button hole stitch.
Attach a safety pin to the ribbon and use this to thread through one button hole right around the bag's casing and out through the same button hole. Repeat for the second button hole. Make sure to tie a knot in the ribbon once it's threaded to stop it being accidentally pulled out.
And behold you now have a stylish and possibly magical organza gift bag. A perfect way to add sparkle to any occasion. And a great use for left over fabrics.
From all at Fabric8, Merry Christmas, and a crafty new year to you all.
I've been teaching a friend to sew for a while now. Together we've made skirts and bodices and our current project is a waistcoat. Now I've been sewing for 10 years and have made well over 50 waistcoats, so I thought this would be simple. However in all my time sewing would you believe I have NEVER had to make a double welt pocket? I've made so many single welt pockets I feel confident enough to add them to patterns that are pocket free, and to turn mock vet pockets into real pockets. I followed the advice I normally give customers in the shop when facing something new. Have a large mug of tea on hand and take your time.
We struggled with the instructions that came with the patern for quite a while before making a big decision. Instructions are just ONE way to do things. I checked my books and looked on line and found MANY different ways of making a double welt pocket.
Then I found THIS video and decided it was the most simple way forward.
I thought people may find it useful to see how someone else interprets the instructions and so here is my attempt to follow the instructions.
This method of making the pockets starts with the welts being interfaced and unfolded. The method I originally tried involved started with he welts folded in half (wrong sides together) and a baste stitch along the long edge. I either had to unpick the baste seam or cut out fresh welts and interface them.
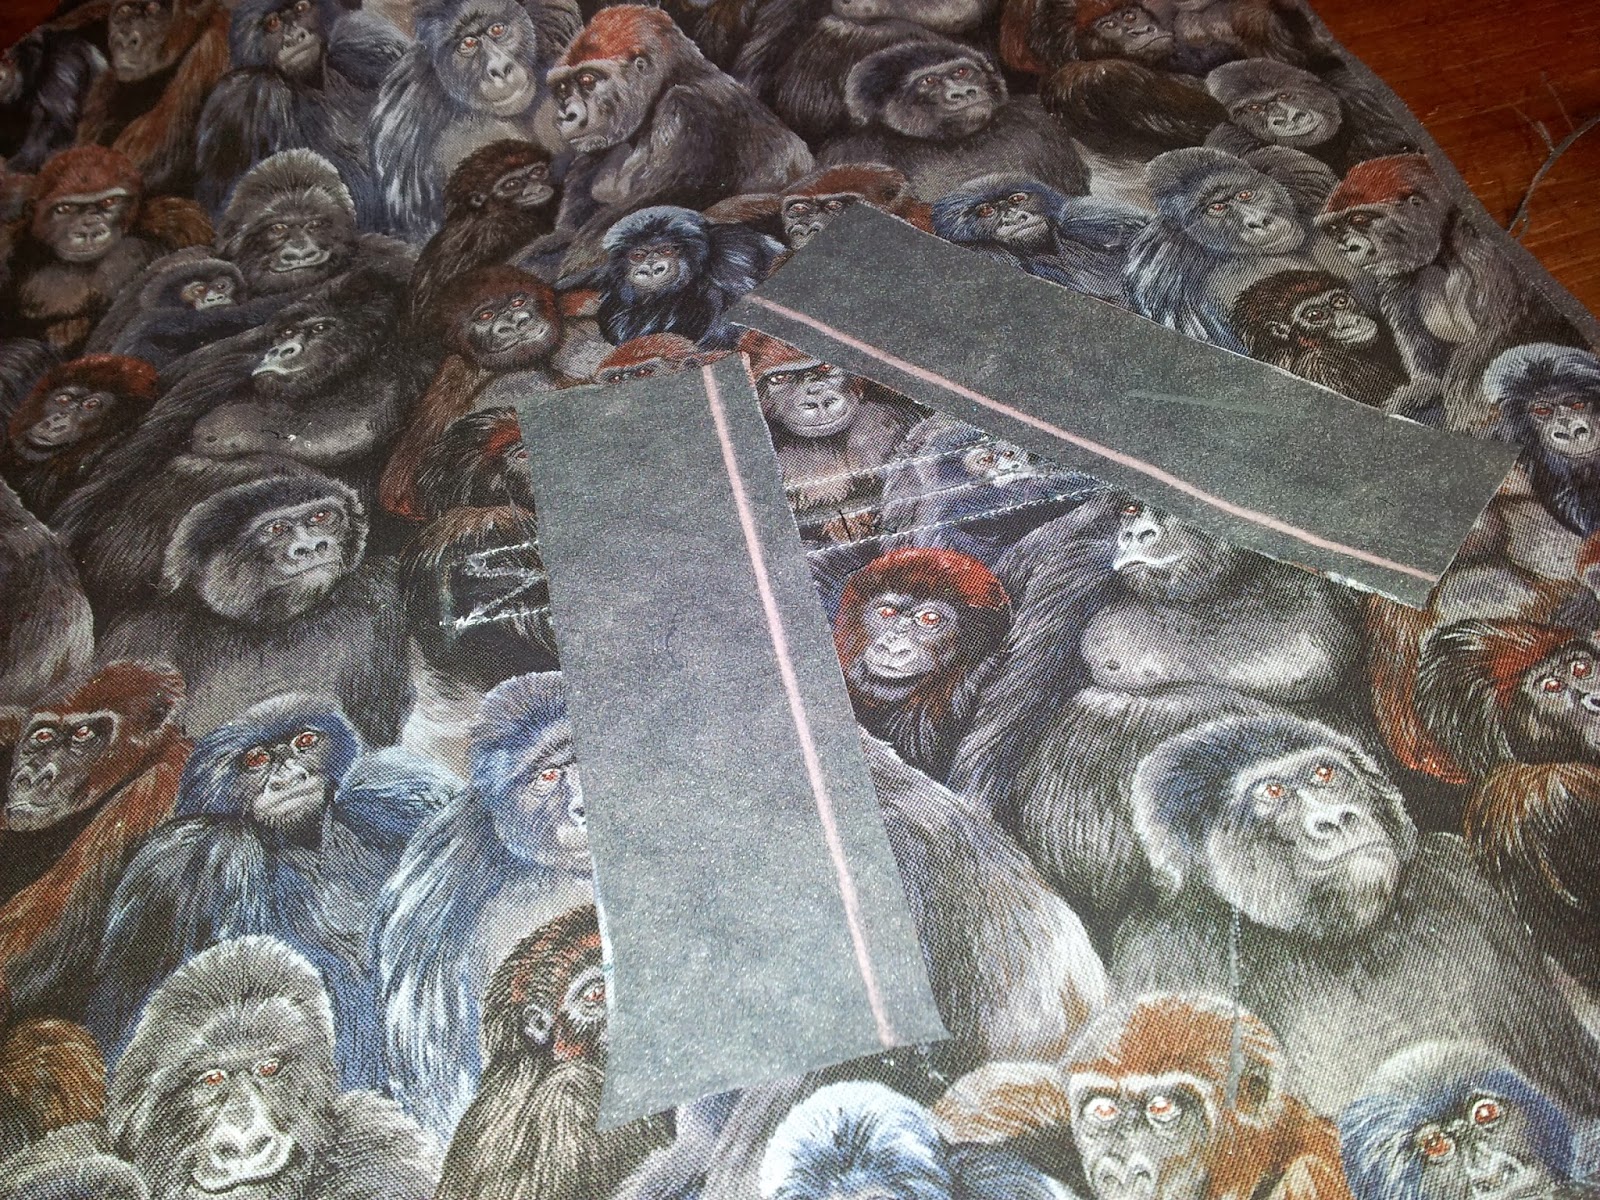
I had already slashed the pocket hole in the waistcoat open in the previous pocket making attempt. To keep the pocket area stable I pressed all the seams shut and interfaced the wrong side of the fabric over the slash. This should help keep everything stable whilst I sew.
When sewing in the middle of a garment you will not be able to see the seam guide marks on your sewing machine. Therefore it is a good idea to mark out the stitching line with chalk first.
Step Two. Sewing the welts onto the garment.
Pin the welts so their edge s meet together at the slashing point on the garment. Stitch along the chalk line not from end to end but from the circle mark on the pattern to circle mark on the pattern. If like me you are working without a pattern then sew from the point where the slashing end, about 1cm in from the welt.
Step 3. Slashing the Garment and Turning Through.
Fold back the welts so you can see the slashing line and carefully slash open the garment. Slash a straight line 1cm from the end of the cutting line on each side. Then cut two diagonal lines to 1mm from where the welt is sewn. repeat on the other side of the pocket.
Fold the welts to the inside of the garment.
Press the seam allowances of the went and garment open.
Step Three. Tagging the "Duck Tails".
If everything has gone correctly the right side of your garment should look like this. The hard work is really done (and it wasn't that hard was it?)
If you look on the right side of your garment the vent should now be taking shape. If you are following a pattern the welts should be folded so the meet in the middle of the pocket and their raw edges match up to the raw edge of the pocket slash. If not fold and press your welts into the correct position and trim them so they match the raw seam. On either side of the slash in the garment you should have two small triangles of fabric. These are the Duck Tails. Fold your garment over on it's side so the pocket welts and the duck tails lay flat on your machine and sew these duck tails down.
Step Four. Sewing the Welts on the Inside of the Garment.
Give everything a good press again. Now pin the lose edge of the welt to the seam allowance on the slashed part of your garment. Sew WITHIN the seam allowance of the slash seam. Repeat for the second welt. The welt is now secure, all that remains is sewing on the pocket bag.
Step Five. Sewing on the Pocket Bag.
One of the many difference between a single welt and double welt pocket is that of the pocket bag. Single welt pockets have a one piece pocket bag, double welt pockets have a two part pocket bag, nodally one piece made of lining and the other of the outer garment fabric. I began with the lining pocket piece which is attached to the lower welt.
Place the pocket piece on the lower welt on the reverse side of the garment. "Right sides together" the pocket piece should appear "upside down" so it's point towards the top of the garment. Stitch the pocket bag in place within the seam allowance of the welt.
Repeat with the second pattern piece which is places rights sides together against the top welt (so the pocket piece is pointing towards the bottom of the garment. Again stitch to the seam allowance of the welt.
Step Six. Stitch the Pocket Bag Together.
Rest the top pocket bag on top of the lining pocket bag, pin together and sew in place.
And behold you have a fantastic double welt pocket! When you open the pocket you will see the same fabric as the garment is made of.
I have to admit I really enjoyed learning a new technique for sewing. I'm also amazed at how neat and professional the finish on this pocket is. I will definitely be using this method again.
We have been making these blogs for a few years now, and one thing I'm always surprised at is the timing. This will be the fourth time someone has asked me how to make something in our shop just as I'm about to pop a tutorial on the subject on-line.
This sewing project was born through necessity. I lost my favourite velvet scarf and had no intention of paying £25 for a replacement. I took a good look at a scarf in a shop and decided I could make it for around £5.
I decided my new scarf would be velvet to replace the one I lost. I was never a fan of the long tassels at each end of the scarf but found scarves without a decorative edge seemed a little unfinished. One perk of sewing your own clothes is that you don't have to make compromises. I decided to use a short fringe so that the scarf will still look sophisticated., but not get tangled up.
Step one. Marking out.
Take your half metre of velvet and fold it in half, so you have a rectangle 150cm by 25 cm.
Mark where the fold of the fabric is, and then unfold it, so you have a mark half way on the short side of the fabric.
Step two. Adding the fringing. The fringing is held on a strip of braid. We will want the fringing visible but not this braid.
Pin the fringing along the short edge, going from the edge of the fabric to the middle point we just marked.,
The braid of the fringe should be along the edge of the fabric and the fringing pointing down the fabric.
Stitch the fringing to the velvet along the braided edge. Repeat on the other short edge.
Step Three. Sewing up. Fold the fabric in half along the long edge, right sides together. Pin and sew with a seam allowance just wider than the width of the braid that holds the fringe. Make sure to leave a small gap on the long edge around 10cm long.
Pop your hand through the gap and pull the scarf right side out. Press with an iron and slip stitch the gap shut. (Or just use wunder web).
And Hey Presto you have a fabulous scarf to cut a dash in (or to give as a gift) for around five pounds.
Version 2
The above scarf has three sides sewn. It is just as easy to make a scarf out of two narrow strips of fabric of around 150cm by 28cm. Whilst this means you have an extra seam to sew you have the opportunity to use two different colours of velvet, or to add ribbon to one side of the scarf.
The only difference to the above method is you don't have to find the half way mark on the short end. Simple pin the fringe across all of the short end, you can also top stitch ribbon along the width as well.
Then just sew the two strips of velvet together, right sides together again leaving a gap for turning through.
There you have it, two ways of making a simple but sophisticated scarf. These scarves were an experiment in that I used a velour with a stretch. I was concerned that this would make the scarf shapeless, but I've found it works fine.
When you think of making Christmas decorations you may recall struggling with glue paper and card.
However you can make fantastic decorations with sewing and knitting. We've shown you how to make an advent calendar, a Christmas bauble and how to use ribbon and cinnamon for a simple decoration. To knit this tinsel we are going to knit a scarf almost, of 5 stitches in width. But with a little twist. I must stress I'm very new to knitting, and I suffer from "sausage fingers" and even I managed this project!
Can Can yarn comes in a ball like other yarns, at first glance it looks like a thick cord.
However when you tease it open you find it's more of a ribbon of mesh.
Casting On
Casting on with Can Can is simple.
Just slide one needle through the yarn on one side.
3 cm along the yarn slide the needle through the yarn again. DO this until you have the needle through the yarn five times. That's it, we've cast on, see, simple!
The Knitting.
Slide the second needle UNDER the first THROUGH the loop it's made in the yarn.
Loop the yarn around the front of the first needle.
Slide the second needle through the yarn about 3cm along from the first loop in the first needle.
Slide the second needle around to the right and poke the needle through the loop on the first needle again.
Just like this. Slide this new loop off the first needle, it should now be on the second needle. Repeat this for all five stitches.
Rotate the second needle and then wrap the yarn around the front. Then slide the first needle under under the second (which now has the stitches on) and knit as you did before. And that's all there is to it.
Keep up this process until you run out of yarn and you should have a beautiful length of tinsel, or indeed a scarf.
These lengths of tinsel look beautiful in any colour, and make fantastic boa style scarves for the new year.
You can also knit up multiple lengths and twist them together for this beautiful candy cane effect.
Finally we have a video where I attempt to knit on film! As I've said before I'm VERY new to knitting but even I have managed this project!
Or "The Japanese Tea Ceremony a warning from history".
OCD or Obsessive Compulsive Disorder is a strange condition. Much like schizophrenia and amnesia it is rarely fully understood by people. When I was growing up we thought schizophrenia meant you had two people in one head (in other words Multiple Personality Disorder), and amnesia was always a case of forgetting your past (whilst not knowing that Retro Grade amnesia, the inability to make new memories also exists)
Obsessiveness Compressive Disorder is often (but not always) a lot more than being a "Clean Freak". It isn't entirely about being trapped into performing rituals, however this is something I wanted to blog about today.
Legend has it that years ago a samurai had the PERFECT cup of tea in a tea house. The tea was at just the right temperature, the bird song and crickets sounded just right, the lady serving the te a moved in just the right elegant way. In short EVERYTHING just fell into place. He wanted to recreate this feeling every time he had a cup of tea, and so the tea ceremony was born. His serving lady had to move in the same way, the tea had to be the same temperature and so on. However this will not always recreate the same moment of bliss as many things are beyond our control. The temperature and humidity of the tea house, the background noise, his thoughts from earlier in that day. By insisting so much remain unchanged he had stifled the universes ability for random chance to effect the end result, So from that moment on no cup of tea he had would be as good, and could never be as it had become a regimented unchanging ritual.
I have no idea how factual accurate the above tale is, however I think it can still teach us something. Having everything "just so" when we work is fine to a point. A tidy work space, knowing where everything we want like our sewing tools are and so on can speed up sewing and make it more of pleasure. My trouble is when I can't find "MY SEWING MUG" or can't decide on the best DVD to watch. Then I become distracted, my work suffers, assuming I ever get round to starting it instead of picking through DVD's or hunting an errant Tardis mug
I guess what I'm trying to say is it's great to be organised, and it's great to have things around us that make work a pleasure but be open to change, it will happen whether you like it or not one day. Mug's break, DVD's get damaged and then you'll have to work with a new mug, and maybe listening to the radio, and who knows you may find this even more enjoyable that your old routine.
Over the last few months we have been working hard on our website. The over all design has not changed much but we have been working on increasing our range including Steampunk Fabrics and Christmas Fabrics. We've also been changing how our wool and yarn is displayed in our virtual shop. Before each style of yarn was categorized by manufacturer. However many people found having to go in and out of all the categories frustrating. Now all of the categories of yarn are on one page.
Knitting and crocheting by hand is a fantastic way to spend the evening. You can chat, listen to the radio or audio books, watch TV and still have an amazing garment when you finish.
Many interesting effects can be achieved with Rico yarns and wools. So here's a rough guide to help you experiment over the cold Autumn and Winter months as you knit on the sofa. Rico Baby Teddy Aran is a light and fluffy yarn perfect for projects for babies such as hats and fluffy cardigans.
Rico Big Moment is a soft and fluffy yarn. One of these giant balls makes a beautiful warm and soft scarf.
One of the balls would make a fantastic gift as all someone would need is a pair of knitting needles to go with it to complete a full knitting project!
Creative Can Can is an easy to knit scarf yarn. One 200g ball knits a long ruffled scarf. Can Can yarn comes in solid colours as well as glittery colours and blended colours as well. Again a fantastic early project or gift for someone keen to get crafting.
Rico Creative Cotton Aran. The crochet and craft yarn! Creative cotton aran is perfect for crocheting and knitting accessories and useful household things. Used to make cute animals and other stuffed toys.
Rico Creative Filz is a very strange but useful yarn. You can knit up a project quickly and then "felt" it by washing it in a machine. . This creates a sturdy fabric suitable for bags, hats and even slippers. You don't have to felt your project however.
Rico Creative Galaxy DK is a double knit yarn with colour matched sequins attached along it's length and self-stripping colours. This makes fantastic glimmering shimmery hats and scarves.
Rico Creative Liesl. The voluminous yarn with glitter effect. One 200g ball of creative liesl makes one beautiful scarf in
brioche stitch. This yarn is especially easy to work with and is
therefore perfect for beginners. The thin shiny thread gives the scarf
an especially pretty glittery effect.
A loopy yarn that also has small pompoms upon it. This makes a beautiful light weight scarf suitable for Autumn and Spring. I've also seen this worn as club wear when made in Neon!
Rico Creative Pompon Party and Rico Creative Pompon Print.
Pompon yarn can be used in lots of different ways: whether for knitting scarves and accessories or in crafting! When knitted into a scarf the pompoms swish about creating a beautiful sense of movement.
However the yarn can also be knitted to give a tight fabric of bobbles!
Rico Essentials Cotton DK. A yarn made from 100% mercerised cotton. It is fine, smooth and has good definition. It
is available in a wide range of shades all with a lustrous sheen. It
knits to a standard double knit and would make an excellent replacement
for more expensive cotton yarns.
Rico Essentials Merino is an ultra fine yarn renowned for being very easy to knit with. Suitable for both clothing and accessories.
Rico Fashion Fluffy.
The trendy faux-fur yarn fashion fluffy gets its name from its soft, fluffy feel. It is a
yarn in in the trendy faux-fur look available in harmonious pastel tones
and in great colour change patterns. One 100g ball makes a scarf.
Rico Fashion Métallisé has a long length and makes a very light knitted garment with a lovely metallic-effect.
And there you have it. A brief guide to our Rico Wools and Yarns. Even the most ardent sewing machine fanatic has to admit the knitting has it's advantages. Remember the key to learning a new skill is to allow yourself to play. Many fantastic creations begin with simple "messing about".

 Cut out a rectangle of organza. Make the rectangle about 50% larger than your gift.
 Press the seam allowance to one side.
 Step Four
 Now mark where you want the ribbon casing to be.